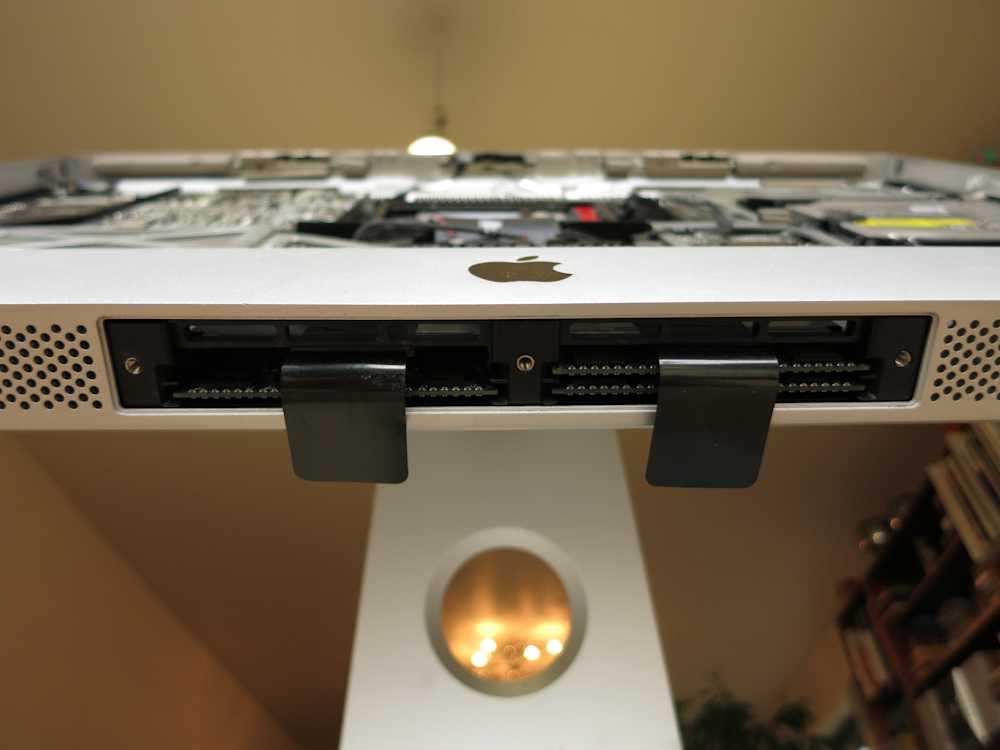
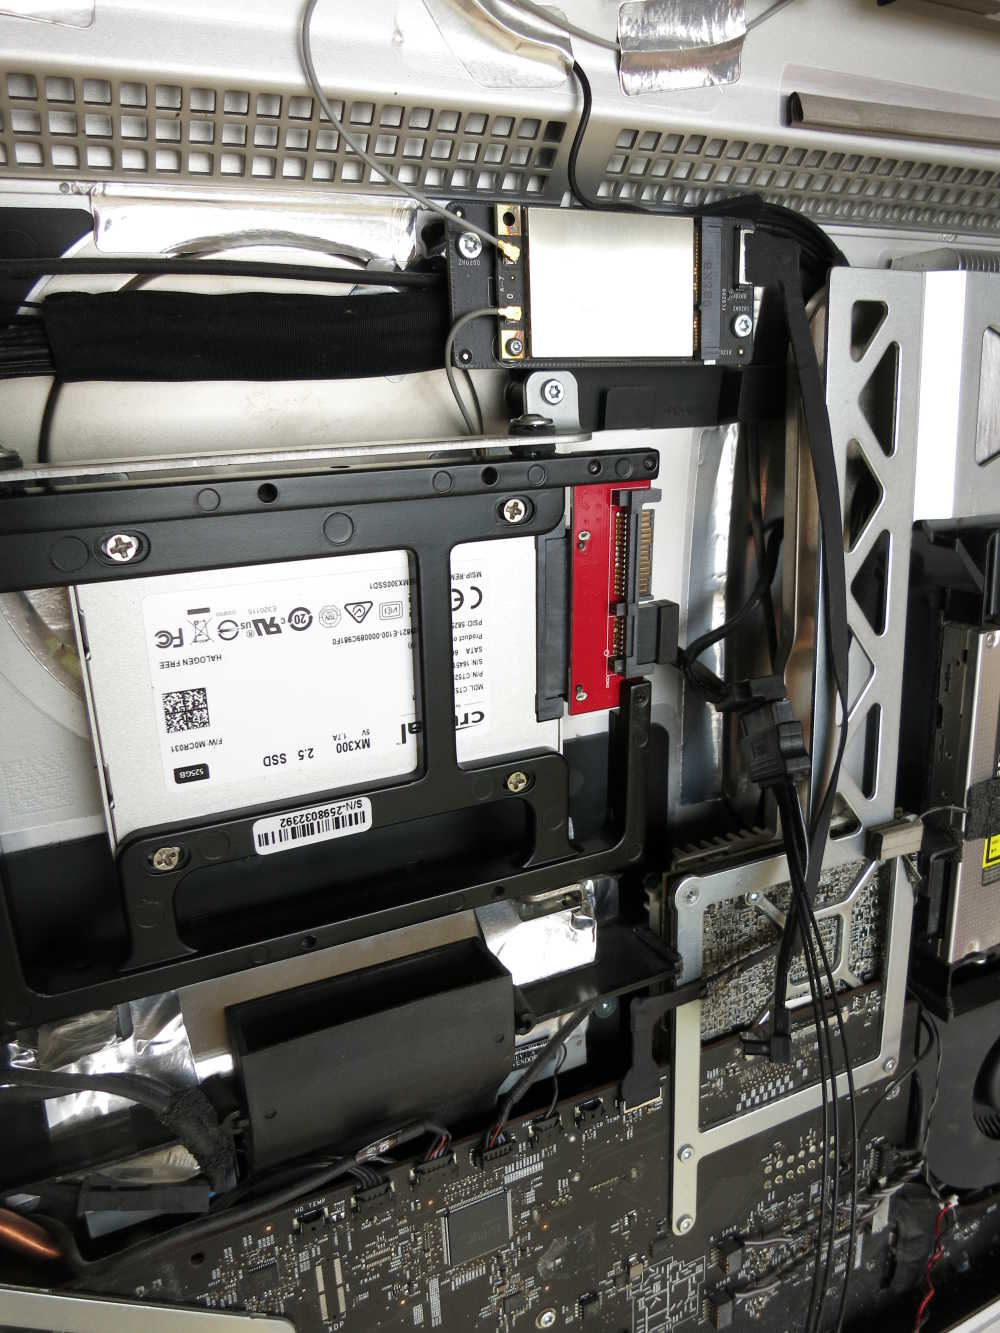
Upgrading an aging iMac
Published on February 1st, 2017
Lately, my families 27” iMac from Late 2009 ran slow.
The 4GB memory space quickly became crowded on a normal workload. A memory-leaking Safari on an old and dirty OS X version didn’t help either. You could hear the stutters of the hard disk after eight years of tiring duty.
So, it was time for some fresh components and software for this still beautiful machine!
Memory 🆙
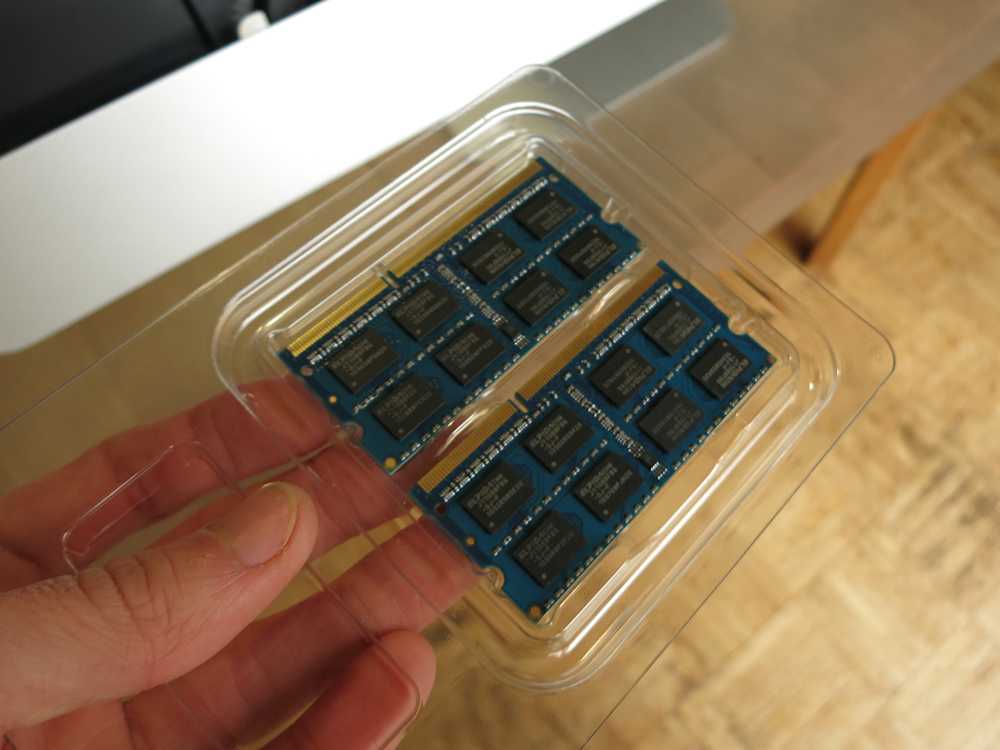
We decided to double the memory to 8GB. This gives applications a very comfortable headroom.
It’s best to match exisiting memory patterns, so with 2x2GB in place, we filled the other two slots the same way. Fitting memory modules could easily be found at a local Apple dealer, but they’re on the internet too.
Installing was only a matter of unscrewing the bottom panel and inserting the modules.
From hard to solid
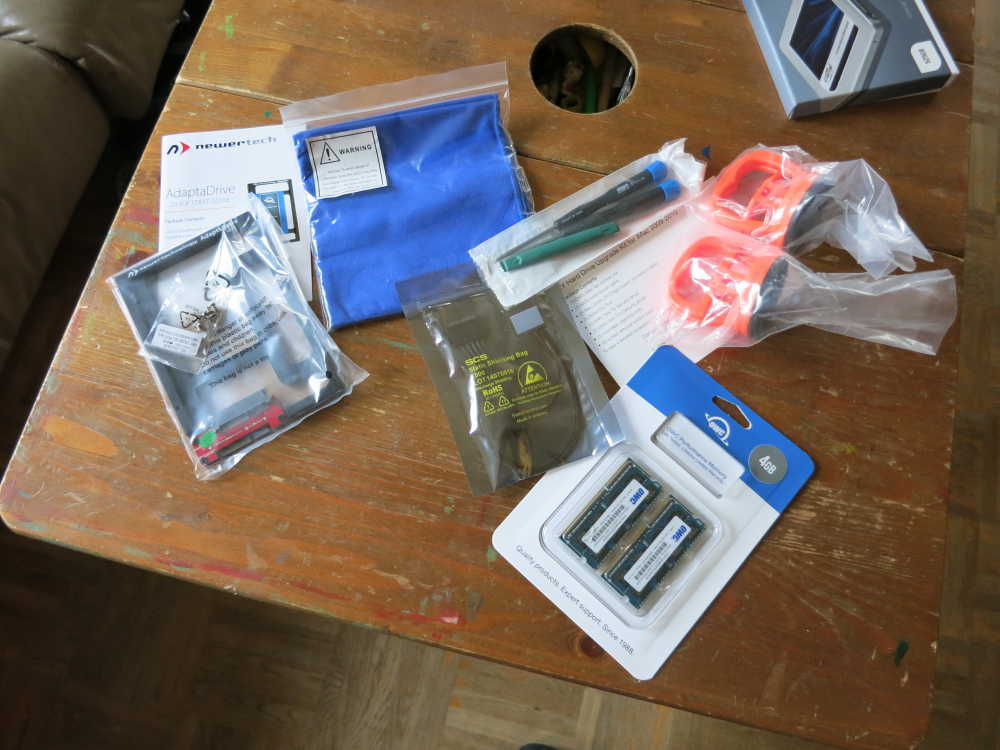

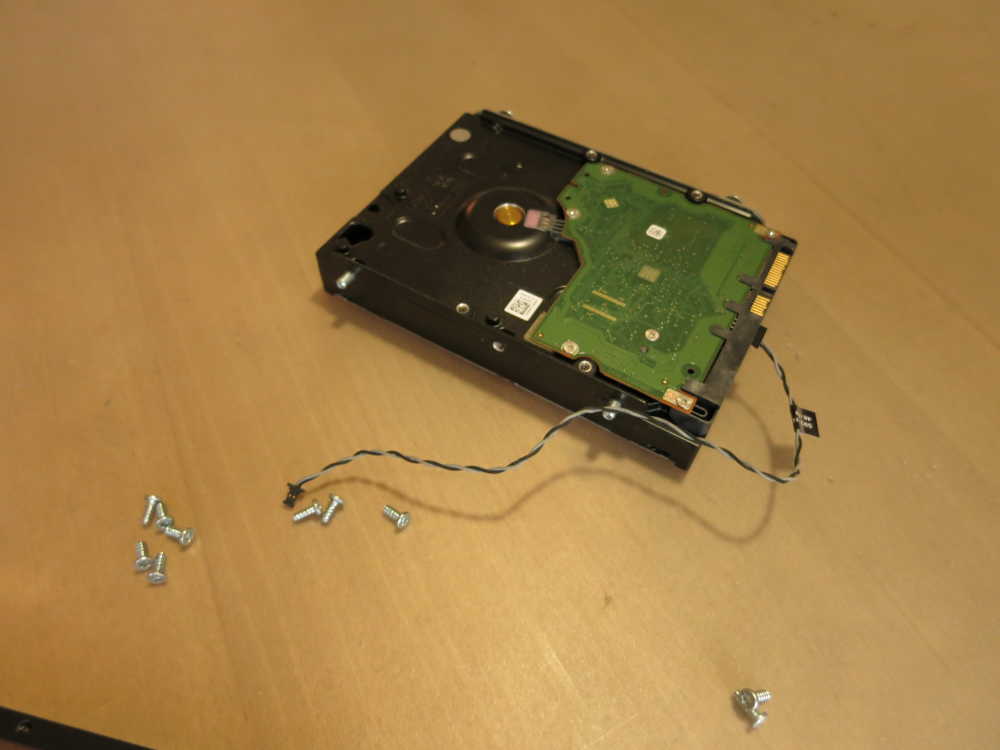
Replacing a hard disk with a solid state drive reduces noise and increases system responsiveness, essentially what we needed.
After some research, I found that installing an SSD on a Late 2009 iMac is a little tricky, but feasible. Unfortunately you need a rather expensive upgrade kit including a temperature sensor cable for the new drive.
As for the SSD itself, we got a Crucial MX300, a low-end option. Getting an SSD with top-notch speed would be a waste anyway, as it’s limited by the older SATA II 3Gb/s interface of the iMac.
Installation
I wanted a clean installation of the latest macOS (Sierra) on the SSD, with user data from the old system.
I had a peculiar idea of doing this, with some doubts as to whether it would work. I put a forum thread up at Apple Communities, but in the end I just tried it:
Backed up the important stuff (of course).
Connected the SSD to the iMac via an USB adapter.
Installed macOS Sierra directly to the SSD as an external startup disk.
Booted the iMac SSD via USB & migrated old data and apps manually.
Made an external backup of important documents & most of the
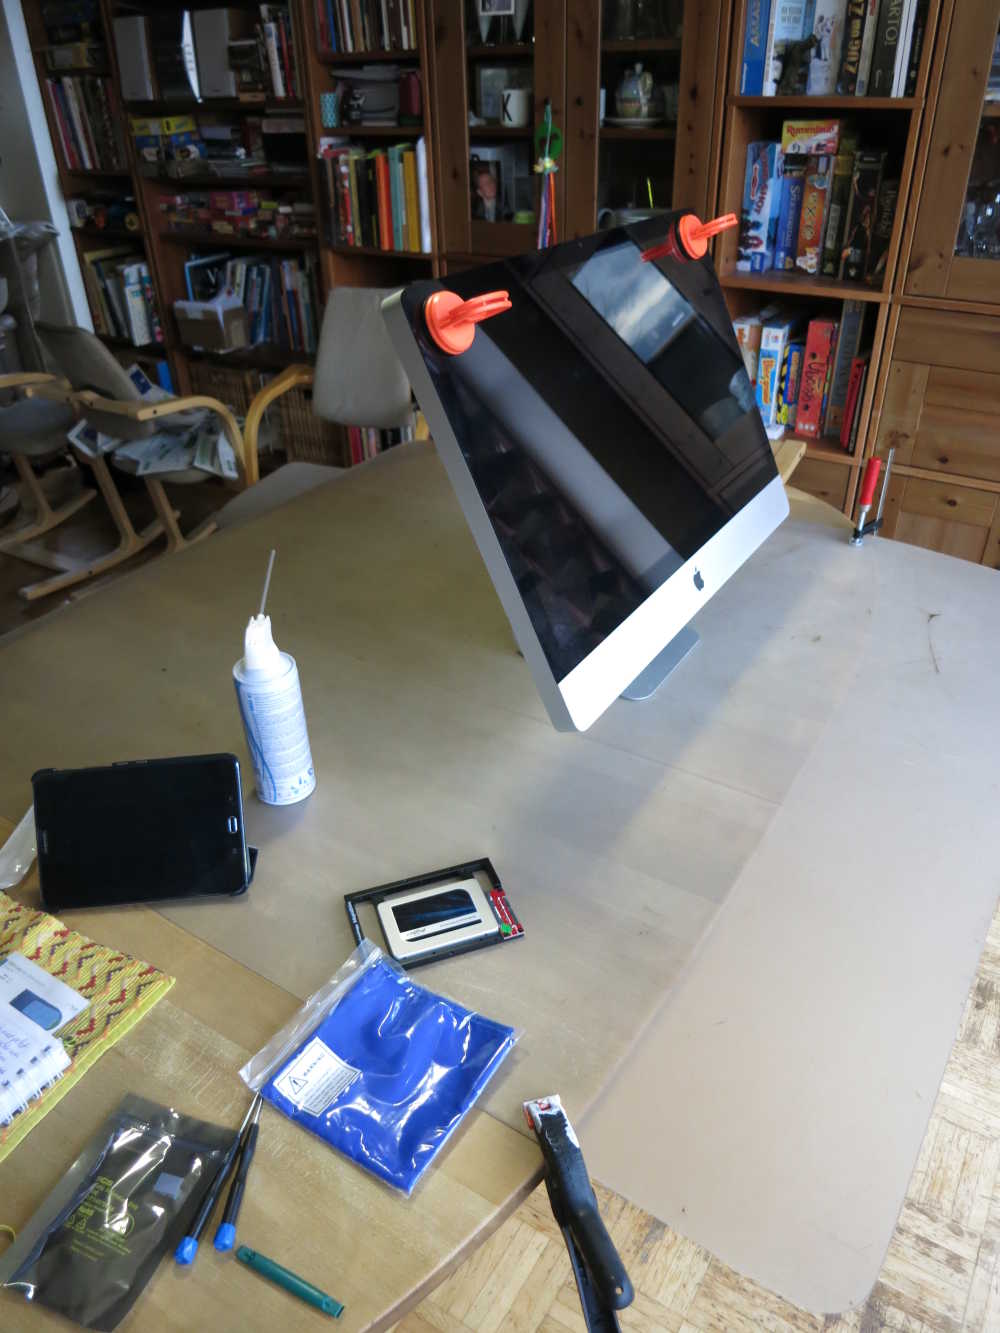
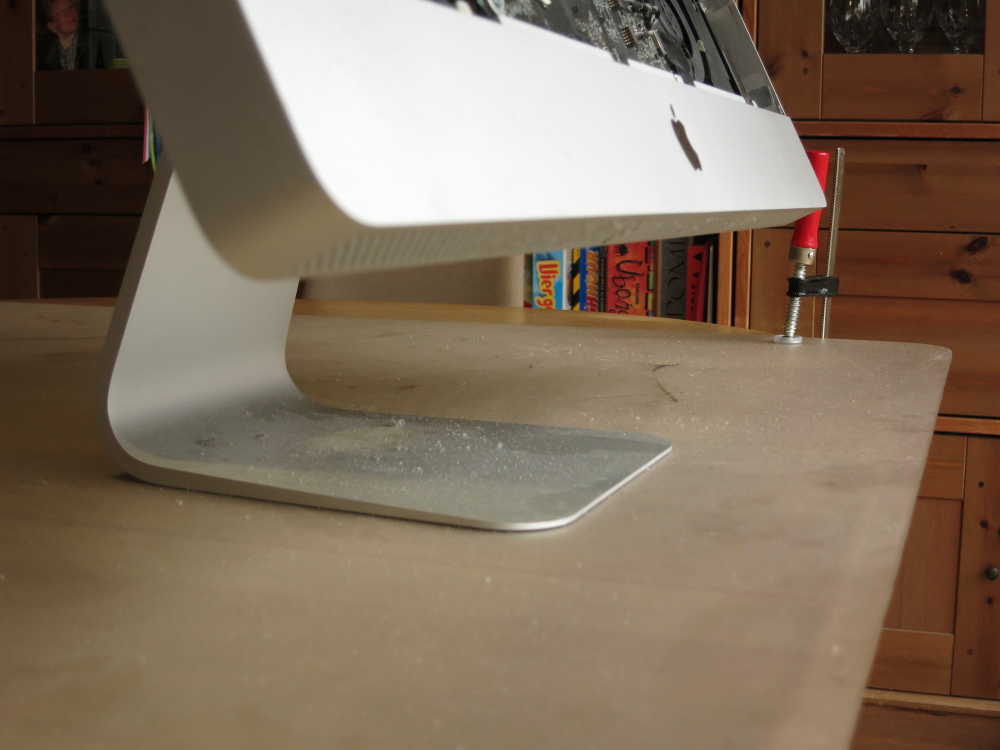
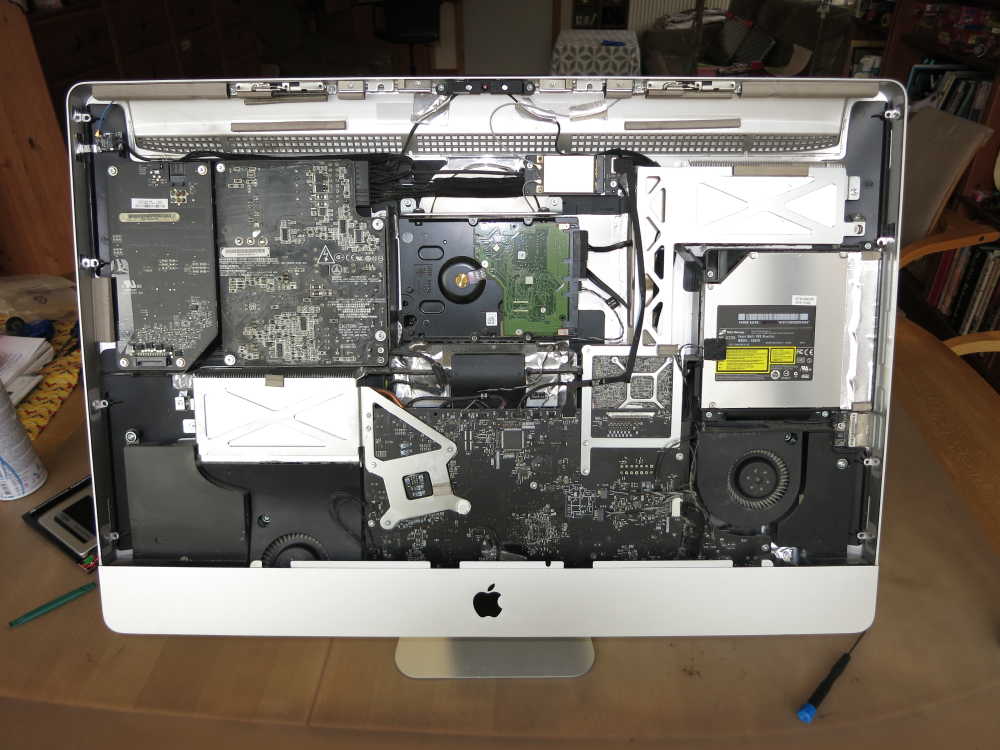
/Libraryfolder, usingrsync.Disassembled the iMac & replaced the internal HDD by the SSD as shown by OWC, then reassembled it.
Done!
The iMac directly booted without problems from the previously external startup disk that became an internal one. This was one of my worries, but luckily there were no weird bootloader complaints.
The mail crux
Now on to the the most difficult step in the whole process: transferring mails.
I didn't want to use the Migration Assistant, as it offers very coarse selection capabilities and would copy over all the rubbish from the old system too.
According to numerous blog and forum posts, transferring them manually was easy. But the old mac ran OS X Mountain Lion, and starting from El Capitan, Apple seems to have changed the internal structure for mail app storage, effectively obfuscating it. Also the way mail accounts are stored has changed. After many attempts, a copy-paste of data and config files just didn't work out.
I ended up recreating accounts, exporting and importing mailboxes as archives as described here. Not ideal, but it works.
Results?
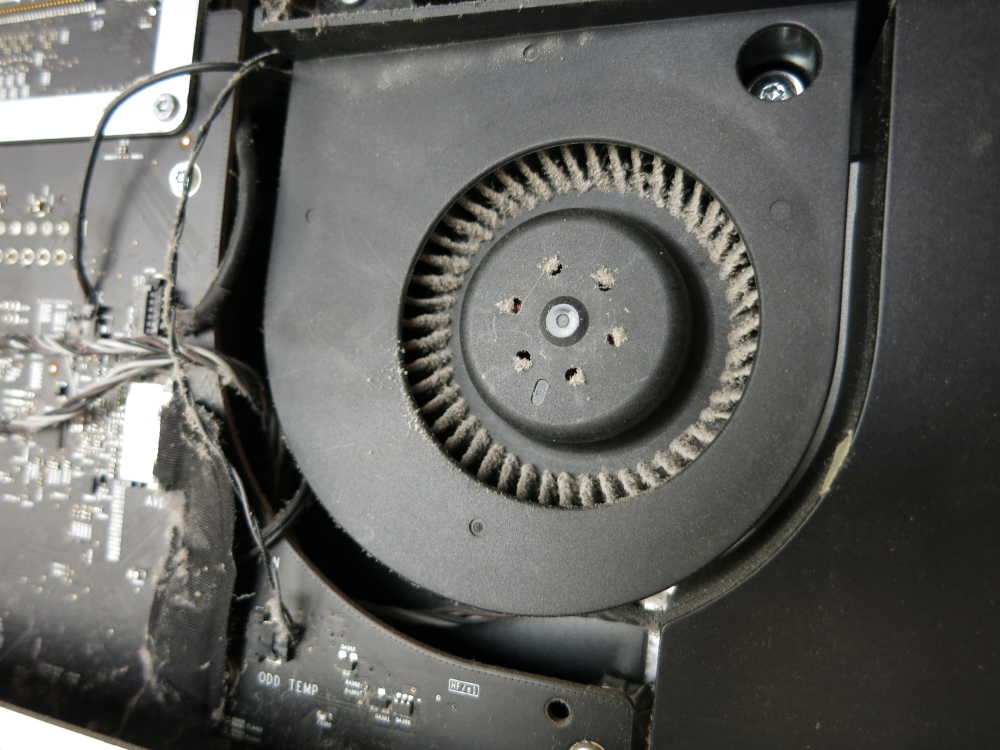
The operation was succesful! Boot time has improved, but not by an amazing margin. Applications definitely react quicker. Not unimportant, we removed a hell of a lot of dust from the computers' internals.
The Mac's fans however are constantly humming (softly), and I'm not sure whether this was the case before. Maybe there's something wrong with the temperature sensor cable, though the measurements seem fine. Maybe it's a new software policy in Sierra. It's not too annoying.

